 EN
EN



Cleanroom panel installation requires accuracy, careful planning and strict adherence to best practices.
A proper installation will ensure your cleanroom envelope maintains required airtightness, cleanliness and a long‑lasting, productive environment. Understanding the entire cleanroom installation process—from preparation through the final inspection, is paramount for contractors and engineers.
Cleanroom Panel Installation Preparation
Before panels arrive on the job site, proper preparation must begin. The successful Cleanroom panel installation starts with early communication and coordination among the cleanroom designer, manufacturer and installer. Once panels are engineered and fabricated, the project team must come together to ensure alignment of cleanroom layout, performance goals, integration details, and service routing before production begins. This includes panel heights, ceiling layout, placement of door openings, pressurized zones, and openings for penetrations.
Contractor level design decisions during this stage are key. By detailing panel layouts, overall room dimensions and how panel elements interface with each other before manufacturing—it is possible to remove bespoke complexity, reduce waste and better facilitate installation sequencing. Early coordination creates a panel system that is practical to manufacture, deliver and install.
Sub‑floor preparation and floor channels should also be verified. Installers should ensure that the job site is ready to install the panels; the locations of any penetrations verified; and all installation tolerances adhered to before starting Cleanroom panel installation. Any deviations must be corrected first.
How to Handle and Store Cleanroom Panels Before Installation
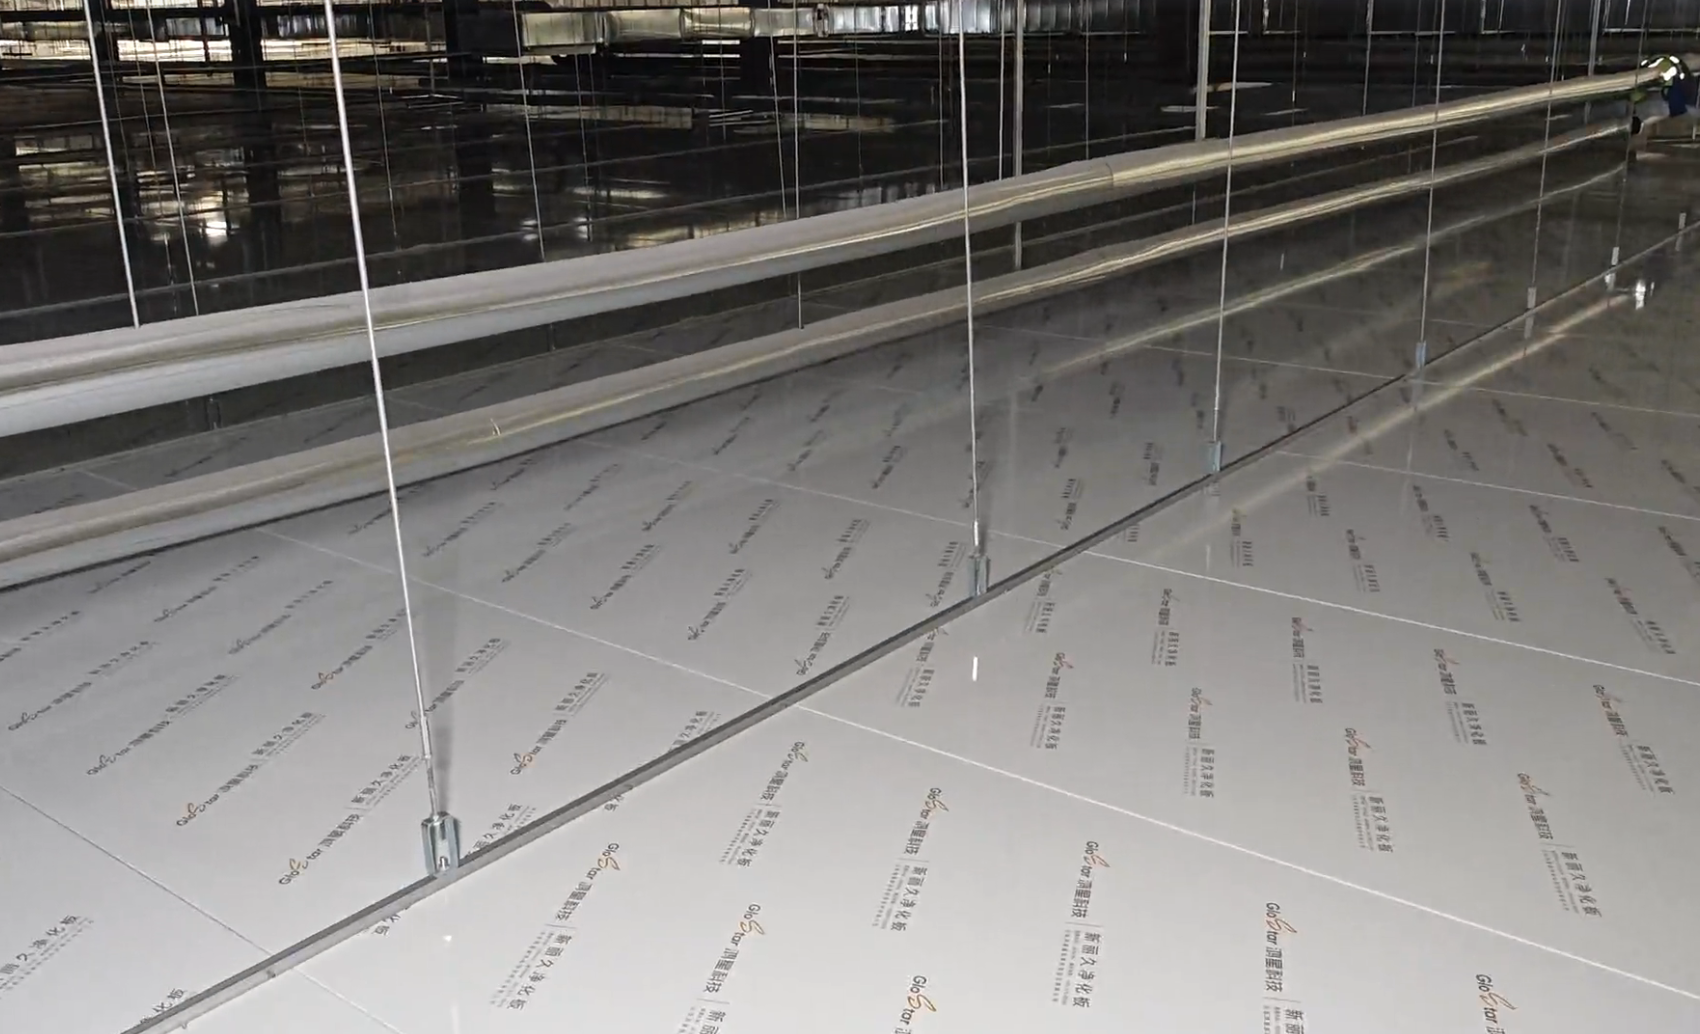
How you handle and store your panels can profoundly affect the quality of your finished cleanroom. Panels should be stored in a dry, indoor, well‑ventilated location and should sit flat on a solid, level surface. If panels must be stored outdoors for an extended period or overnight, panels should be elevated at least 10 cm above the ground on sleepers or pallets and wrapped tightly in waterproof tarpaulins to prevent moisture damage.
Protective film should remain on the panels until installation is imminent in order to prevent scratching. However, any exposure to sunlight over long periods of time will result in your film becoming brittle, yellow and difficult to peel cleanly from the panel surface, leaving unsightly, sticky residues. Ideally, you should aim to install panels within three months of manufacture for clean, trouble‑free film removal.
When moving panels, carry them vertically by the edge and avoid moving panels flat with both hands at the two ends as this will cause permanent deformation or cause the panel's core structure to crack. Protective gloves should always be worn when handling panels. When loading with forks, extra care should be taken to place soft protective pads between the panel surface and the forks.
Cleanroom Wall Panel Installation
Wall panels begin installation by meticulously plotting wall location and then securing heavy duty aluminum alloy or galvanized U channels to the sub‑floor using laser levels. Continuous beads of sealant should be laid in under the entire floor‑track so that any path for under wall air infiltration is blocked.
As each vertical panel is inserted into the channel, fold back the protective film roughly 5 cm from the edges. Otherwise, untidy plastic edges can trap dust around door frames and penetrations. Each panel is then inserted into the frame and a sealant bead is applied inside the groove. An additional bead is then applied to the inside edge of the groove of the panel prior to sliding home and ‘locking’ to the previous panel, thereby creating an internal, airtight seal, similar to a gasket, should any external caulking fail over time.
At GLOSTAR cleanrooms, panels are manufactured with precise dimensions on automated roll‑forming lines and, being highly automated, it’s possible to produce panels that offer far greater uniformity and consistency of fit upon arriving on job site. All panels accepted in good condition upon delivery become the sole responsibility of the contractor and therefore a joint incoming inspection with the supplier’s representative is highly recommended before the Cleanroom panel installation project begins.
Cleanroom Ceiling Panel Installation
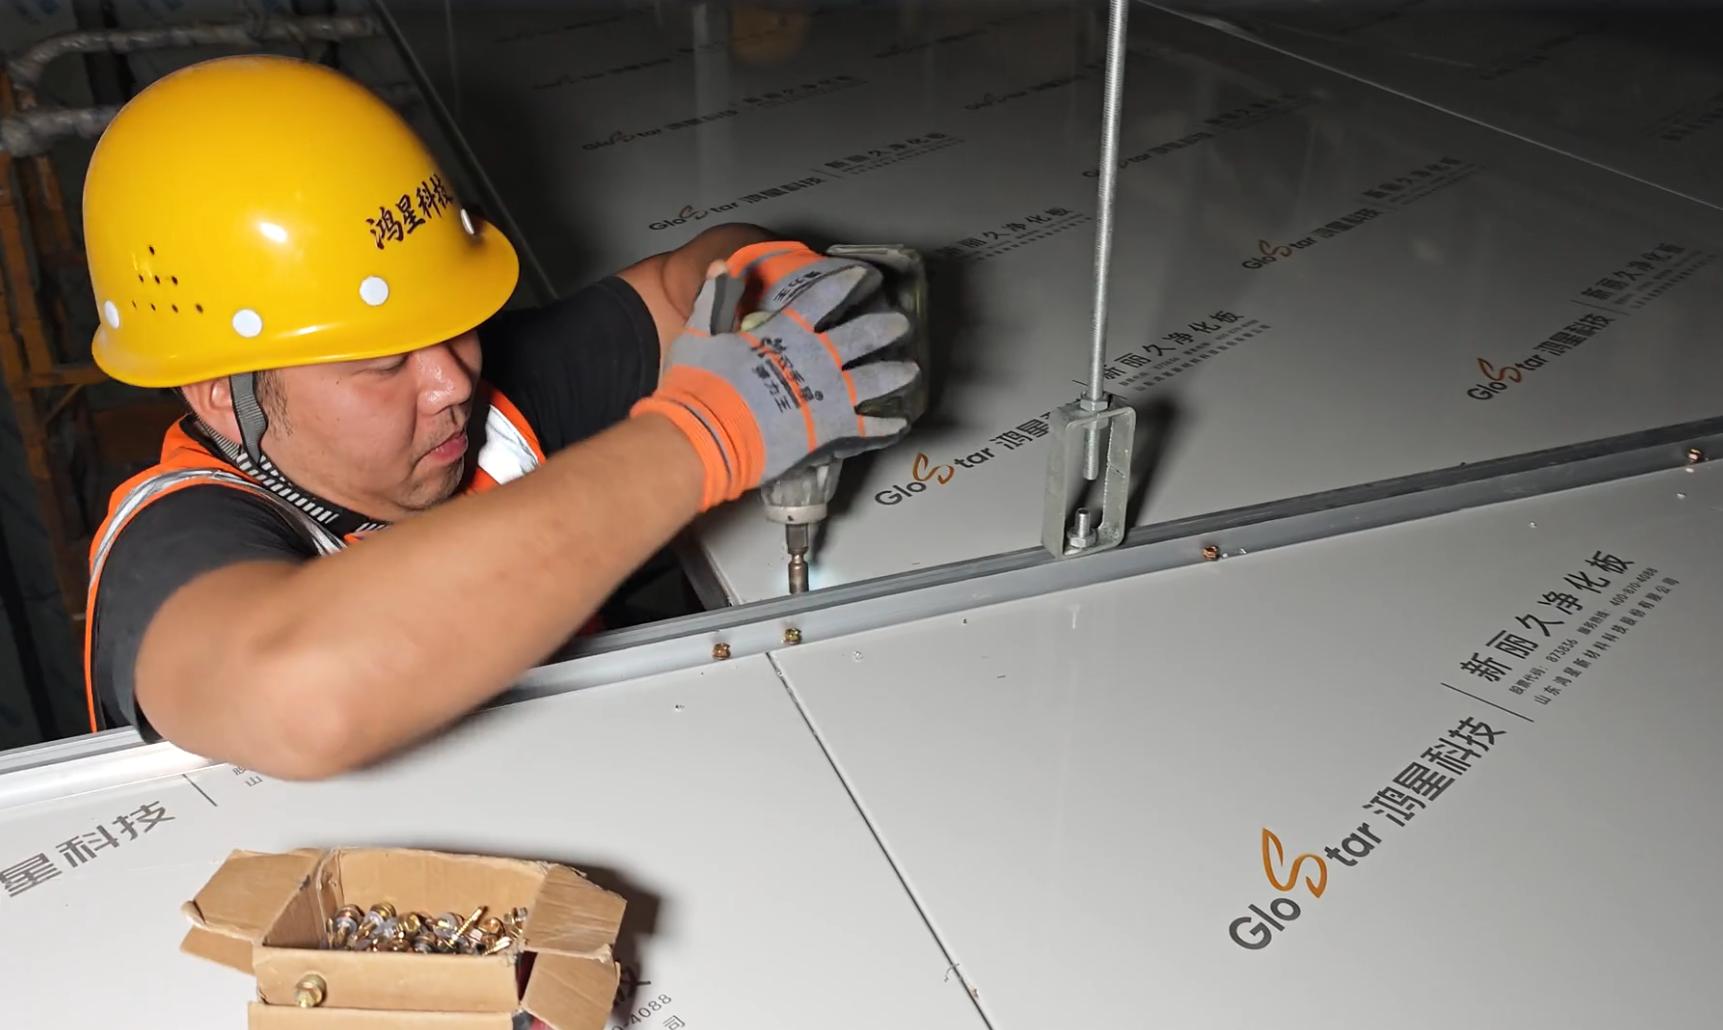
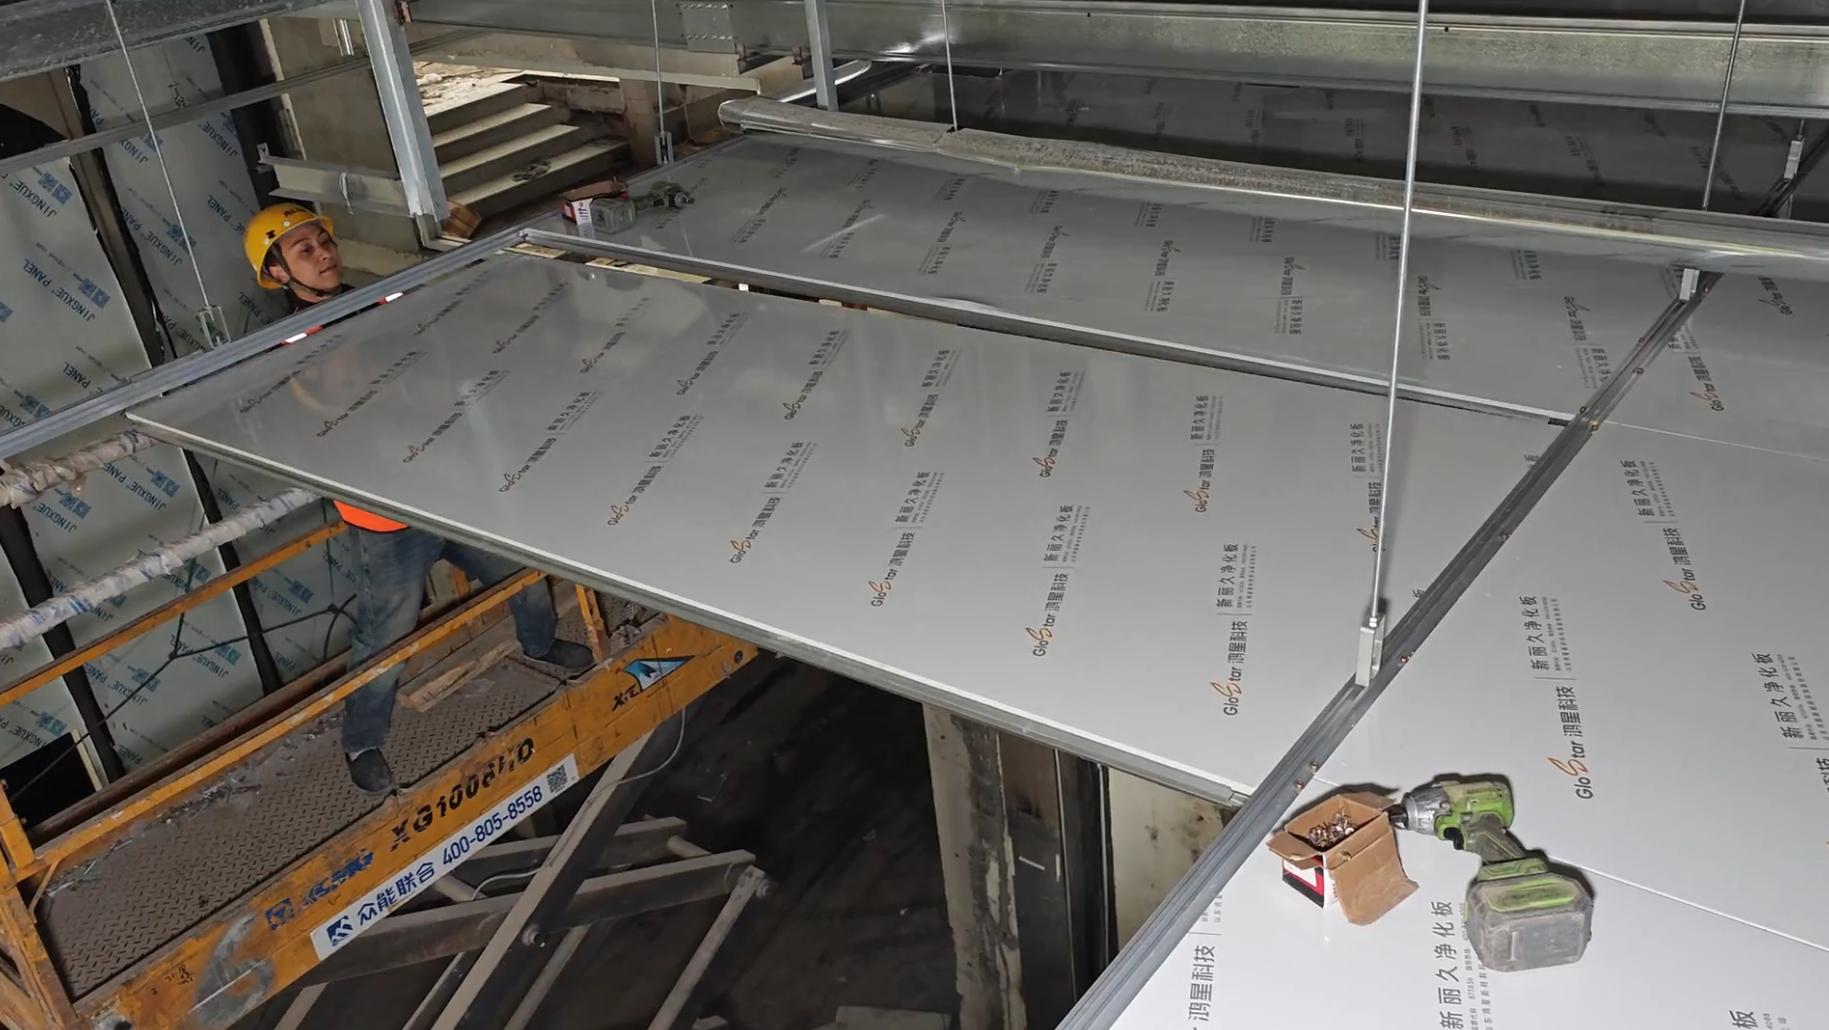
Careful sequencing of installation and coordination are key to install ceiling panels. Ceiling grid structure must be level and appropriately supported prior to the placement of any ceiling panels. A common mistake during this phase of installation is the absence of a proper measurement tool or tape measure. This may result in incorrectly cut pieces causing poor fit between ceiling panels; and improper installation of lighting systems and other equipment.
During installation, the ceiling panels and especially any HEPA filters should be adequately protected using Visqueen (polyethylene sheeting) to minimize contamination. Panel joints on the ceiling panels shall be sealed following the same high standards for cleanroom walls. GLOSTAR modular ceiling panels were designed to be compatible with wall panels and building services.
Panel Joint and Connection Methods
The structural and airtight integrity of the cleanroom envelope relies heavily upon the joints between individual panels, windows and doors. Today, cleanroom panels typically have a meticulously machine profile Tongue and Grove feature providing a tight, interlocking joint for maximum performance. When the walls and ceiling join, they meet at a precisely formed 90‑degree angle to ensure airtightness. For improved hygiene and increased structural support under pressure surges, an integrated aluminium structural radius cove profile should be installed at all wall‑to‑wall and wall‑to‑ceiling connections.
It is critical to finalize penetrations prior to panel production to prevent the need for many field modifications that can seriously affect panel joint integrity. When unnecessary field modifications, particularly undocumented penetrations not present on project drawings‑often resulting from poor coordination of services are required; the need for robust panel edge and opening preparation increases dramatically. Uncorrected field‑cut openings are both contamination risk and maintenance items.
How to Seal Cleanroom Panel Joints
The best practice for a fully functional cleanroom envelope, by far, is sealing. All joints between panels, windows, and doors should be sealed tight using neutral silicone (never an acid‑based silicone as it will corrode the panel’s aluminum face).
For a clean finish, apply masking tape on either side of the seam prior to applying the seal and remove this tape as soon as the sealant is struck level. Type of sealant shall be chosen according to cleanroom Class; type of cleaning agents used on normal operation and any relevant chemical process hazards. Selection of sealant should be appropriate for type of cleaning chemicals used in valid operations.
A light test following this procedure will clearly identify any open seal paths if light is transmissible and, in addition, may identify any gross leak paths prior to formally testing the integrity of the completed cleanroom envelope.
Cleanroom Door and Window Integration
Attention should be paid to the installation of doors and windows as well as the sealing methods at the edges of the product. High traffic areas require doors with increased durability due to cycle rate that could reach thousands of cycles per week. Automatic door closers and specialized floor seals are of extreme importance for maintaining positive or negative pressure differential—a door closer that has been improperly adjusted will create a negative seal and affect pressure decay results.
The window frame system should completely enclose the glass insert without gasketing in between plates. Other penetrations into or through a cleanroom should have frames installed with gasket material set between the inserted item and the cleanroom panels and the exposed core edges of any cut panel should be painted with epoxy and covered with trim material. Penetration collars should meet the same ‘acceptance criteria’ requirements as cleanroom wall panel joints.
Common Cleanroom Panel Installation Mistakes
Certain recurring installation errors can significantly compromise the quality of the final cleanroom. Failure to ensure all field‑cut drawings are approved prior to installation, not correctly preparing the material edges in the field following the installation manual or failing to proper seal with neutral silicone is a prevalent issue. One commonly specified task that is missing from the punch lists—but always there on the project drawings, is an integrated aluminium structural cove detail; a missing floor‑wall junction is another cleaning crevice that will be hard to maintain, creating a point of accumulation of both cleaning supplies and stray particles that will impact the at‑rest particle count result. Deterioration of seal over time, from hardware wear or misadjustment at the joints is another, less obvious issue that will also contribute to a growing number of at‑rest particles.
Material surface damage, frequently found and blamed on the site team is another aspect, this issue is usually best addressed through a joint incoming inspection with the suppliers—where acceptable product becomes the property and responsibility of the contractor.
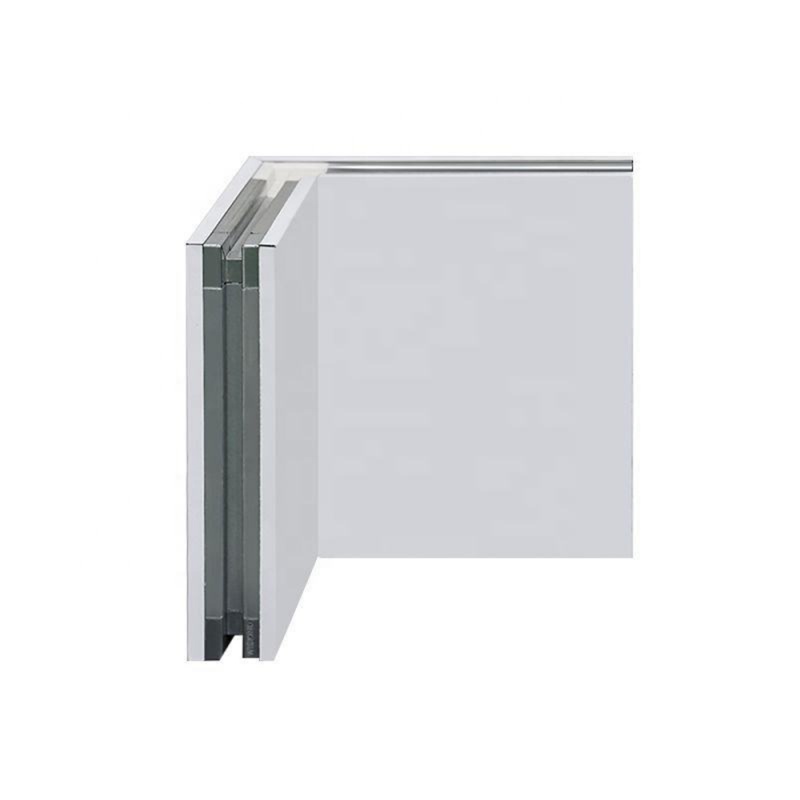
Table of Contents
- Cleanroom Panel Installation Preparation
- How to Handle and Store Cleanroom Panels Before Installation
- Cleanroom Wall Panel Installation
- Cleanroom Ceiling Panel Installation
- Panel Joint and Connection Methods
- How to Seal Cleanroom Panel Joints
- Cleanroom Door and Window Integration
- Common Cleanroom Panel Installation Mistakes